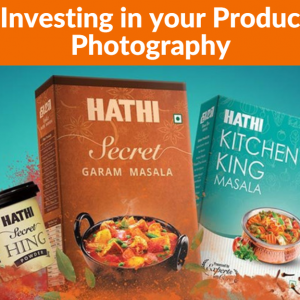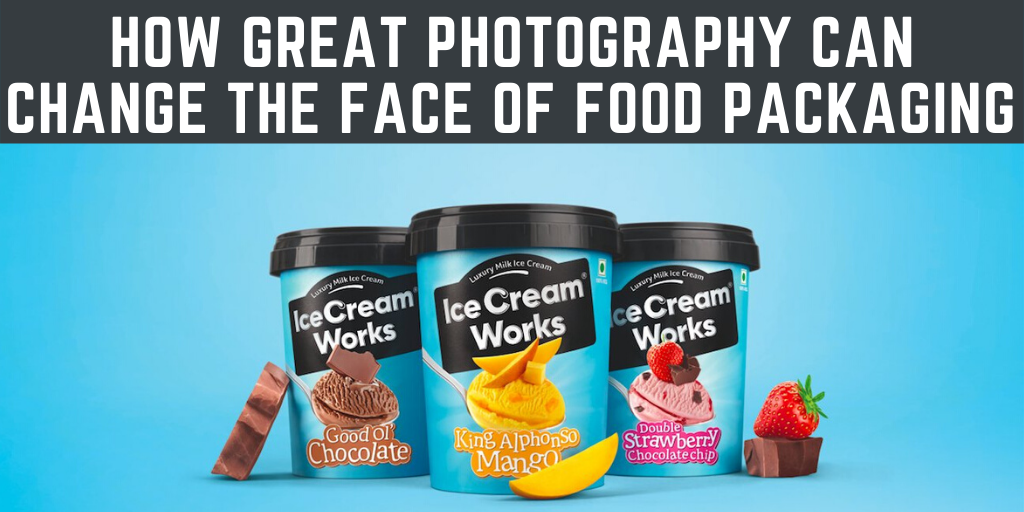
Over the last few months, we’ve touched upon many topics with regards to photography, tips to avoid making certain mistakes and tricks to end up with that perfect shot. Another thing that I have experience with is – product packaging photography and the importance of good product shots.
I have been a food packaging photographer and I can confidently say, it is one of the elements that strongly determines the sales of your business. With regards to food packaging, that photograph is the only way to advertise how your food looks and tastes.
Wondering why it is so important? There are many reasons for this –
- Good packaging helps you stand out, even in an aisle with multiple options.
- You can attract the right target audience just by investing in your packaging photography.
- Draw more attention to your product and its use.
I will definitely get more in-depth about the above and more in a later blog but for now, the question remains – how do you get that amazing click?
So below are some of the advertising photography tips you must keep in mind when you are photographing for packaging –
Set up your backdrop:
Product photography usually requires plain backgrounds, typically those that are pure white. If you are using a sheet ensure that it is wrinkle-free and perfectly smooth. The camera tends to pick up on these smaller things so it will end up highlighting wrinkles, stains or other imperfections. So make sure that you use a tightly woven fabric or canvas.
This is also beneficial for the times the image will be clipped out from the background and used on alternate backdrops to create various digital assets.
PSA: The background black or white should be such that it can easily be separated from the object. If you are adding props you have to be sure that they are adding to the image, they’re lit well and are in focus.
Lighting:
As we have established before, lighting can make or break your image. It really depends on what type of food you are photographing but usually, if the product is small to medium size, you put it in a lightbox and if not, you surround it by multiple lightboxes and white reflectors. For example, when we click a toast in a griller it has a curvy reflective surface and requires white screens to be placed all around to kill the reflection.
If you choose not to use a lightbox, the below will help –
- Place two lights at the background on either side of the product. Ensure these are pointing towards the background and not the product. This will separate the product from the wall.
- Place one light in front of the product and one light above the product. This will make sure your product is well lit and the above light will eliminate the casting shadow.
It is important to create a dimension that will show your food in the best way.
Depth of field:
Have as deep a depth of field as possible. This will confirm that all parts of the item are in focus. Here you need to make sure that all the details are available because there are unprecedented options available and you do not want to leave the consumer guessing. I usually set the aperture at F18-F22. This goes without saying that the lens should be able to deliver high-quality, defined and high-contrast images at this aperture level.
Plan your shot:
You’ll need at least 3-7 photographs of each item that you’re clicking. If you’re clicking 10 products for one brand, it is always good to provide images for each angle, for every product and then get some more detailed shots where applicable. Remember, the camera sees more than you. Hence, what may appear good to your naked eye might not look great on camera so keep reviewing your shots and look out with a critical eye and open mind.
I hope this will help you in taking better images for your clients and understand what really goes into the set up for the shoot. If you have any questions, you can leave them below.